

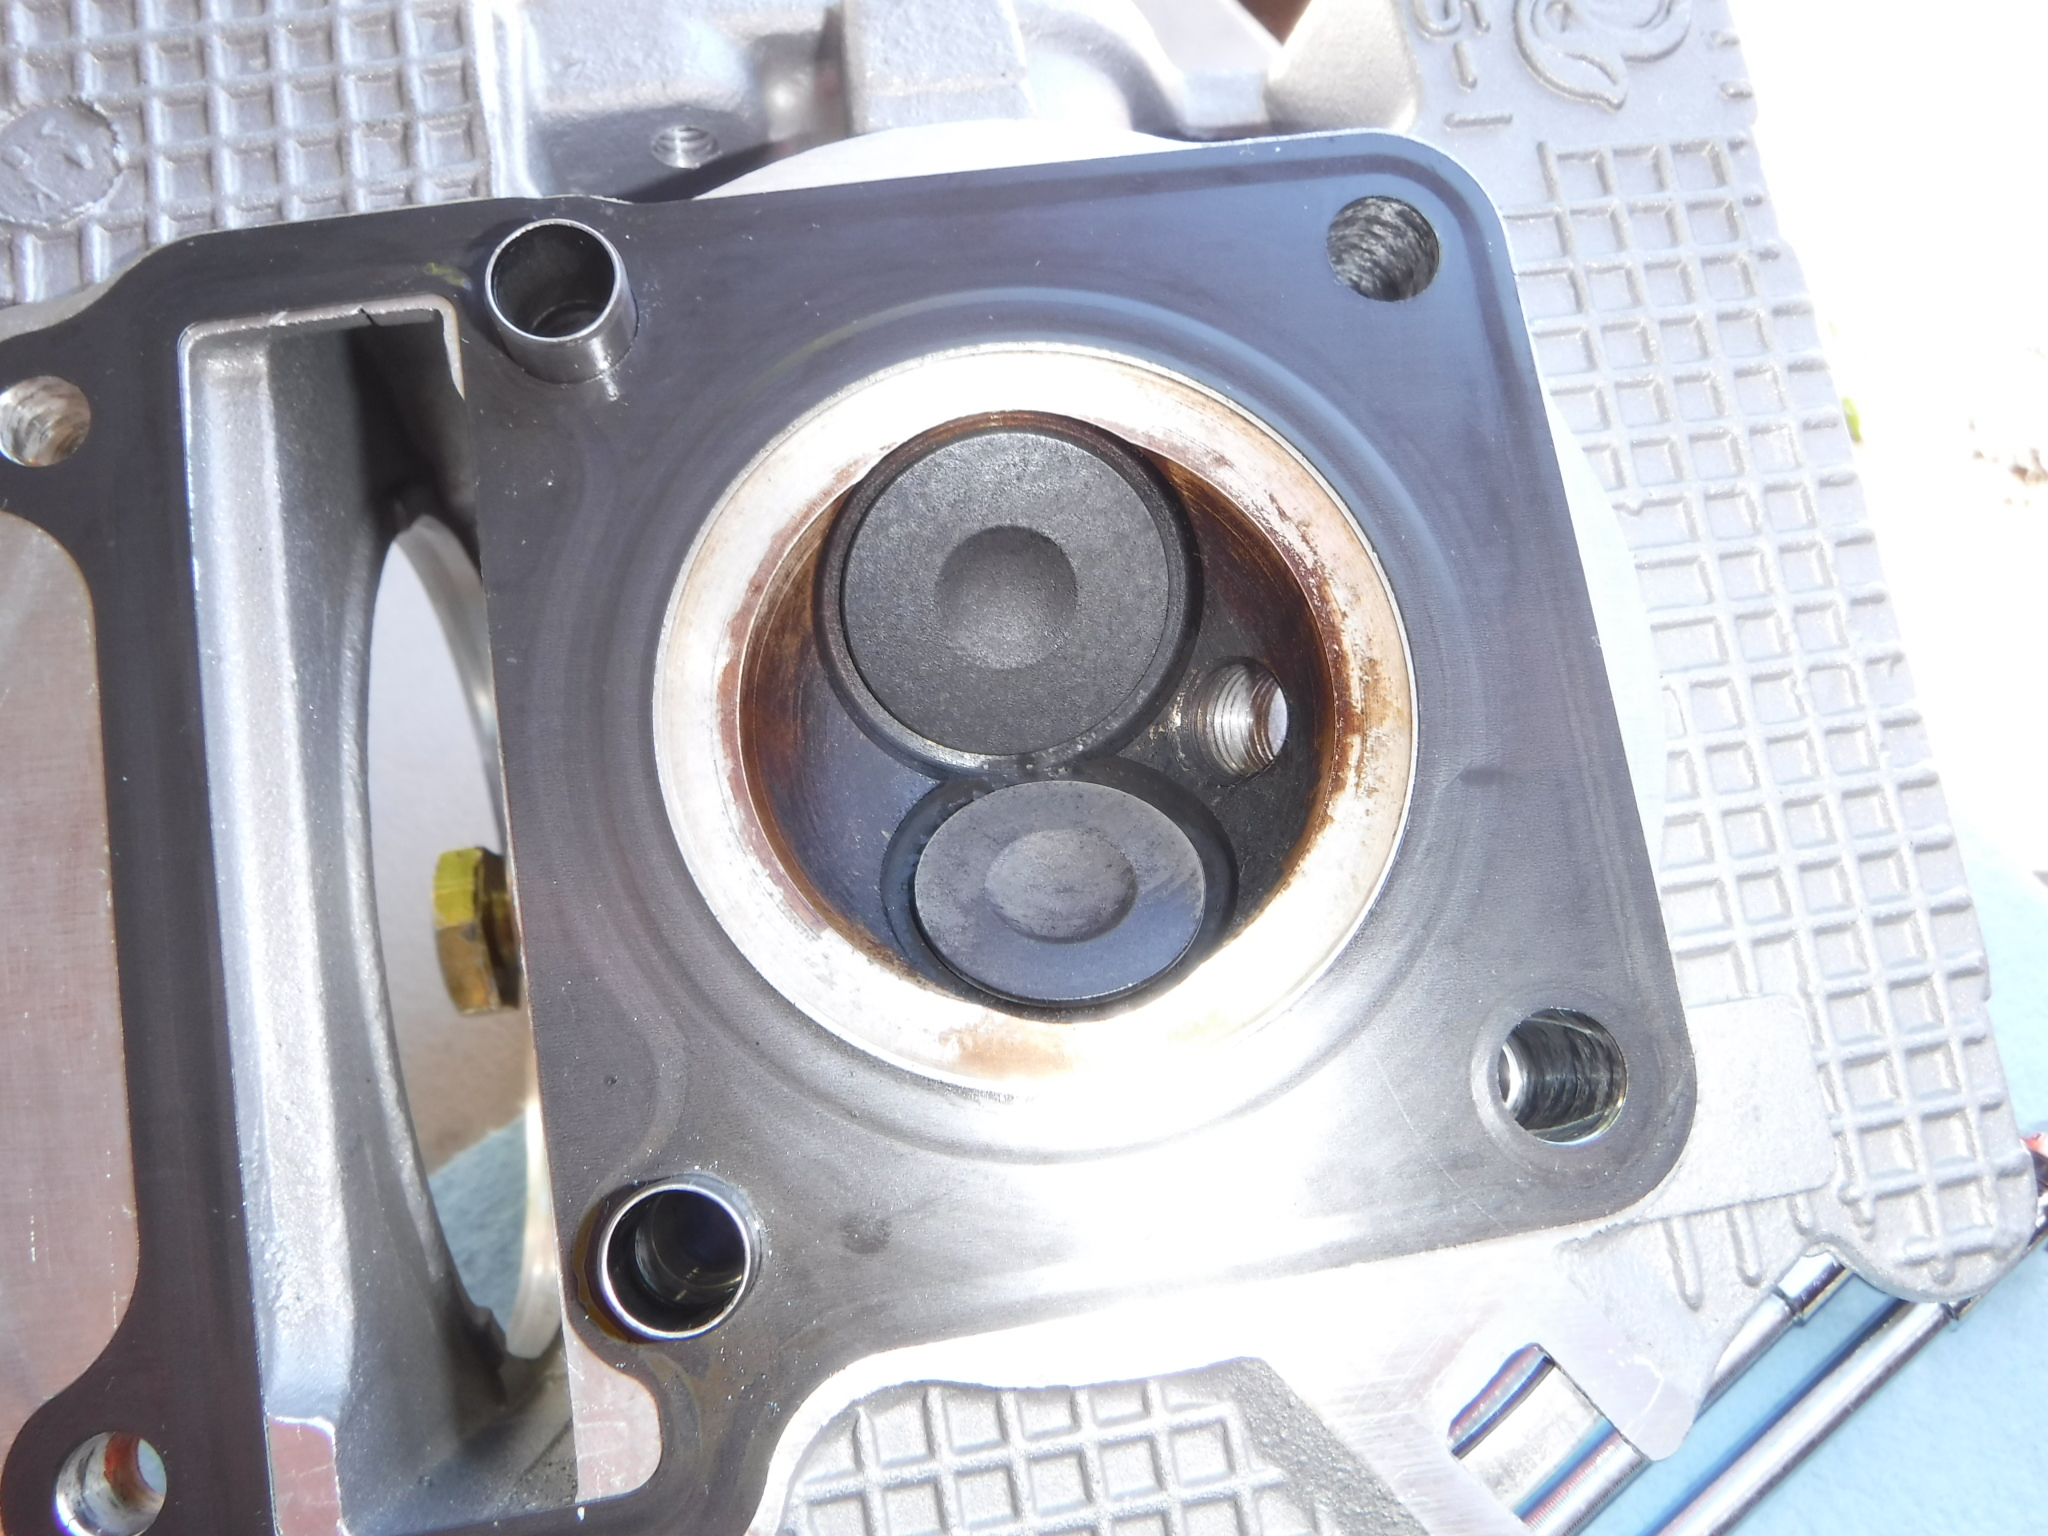
In order to get the best performance from the engine, you need to set the squish band of the piston.
There is a lot written about what the squish band does, not going to repeat that information here. The squish band on our engines is the lighter ring around the outside of the valves.
Some good information on how to check the squish is in this link Squish . So following their guide, I got some 0.063 thick rosin core solder. The rosin core is important because it will allow the solder to deform more easily down to a certain level. That certain level seems to be around half it's normal thickness. So I cut two small pieces, and held them in place with some grease just like in the NRHS article linked above.
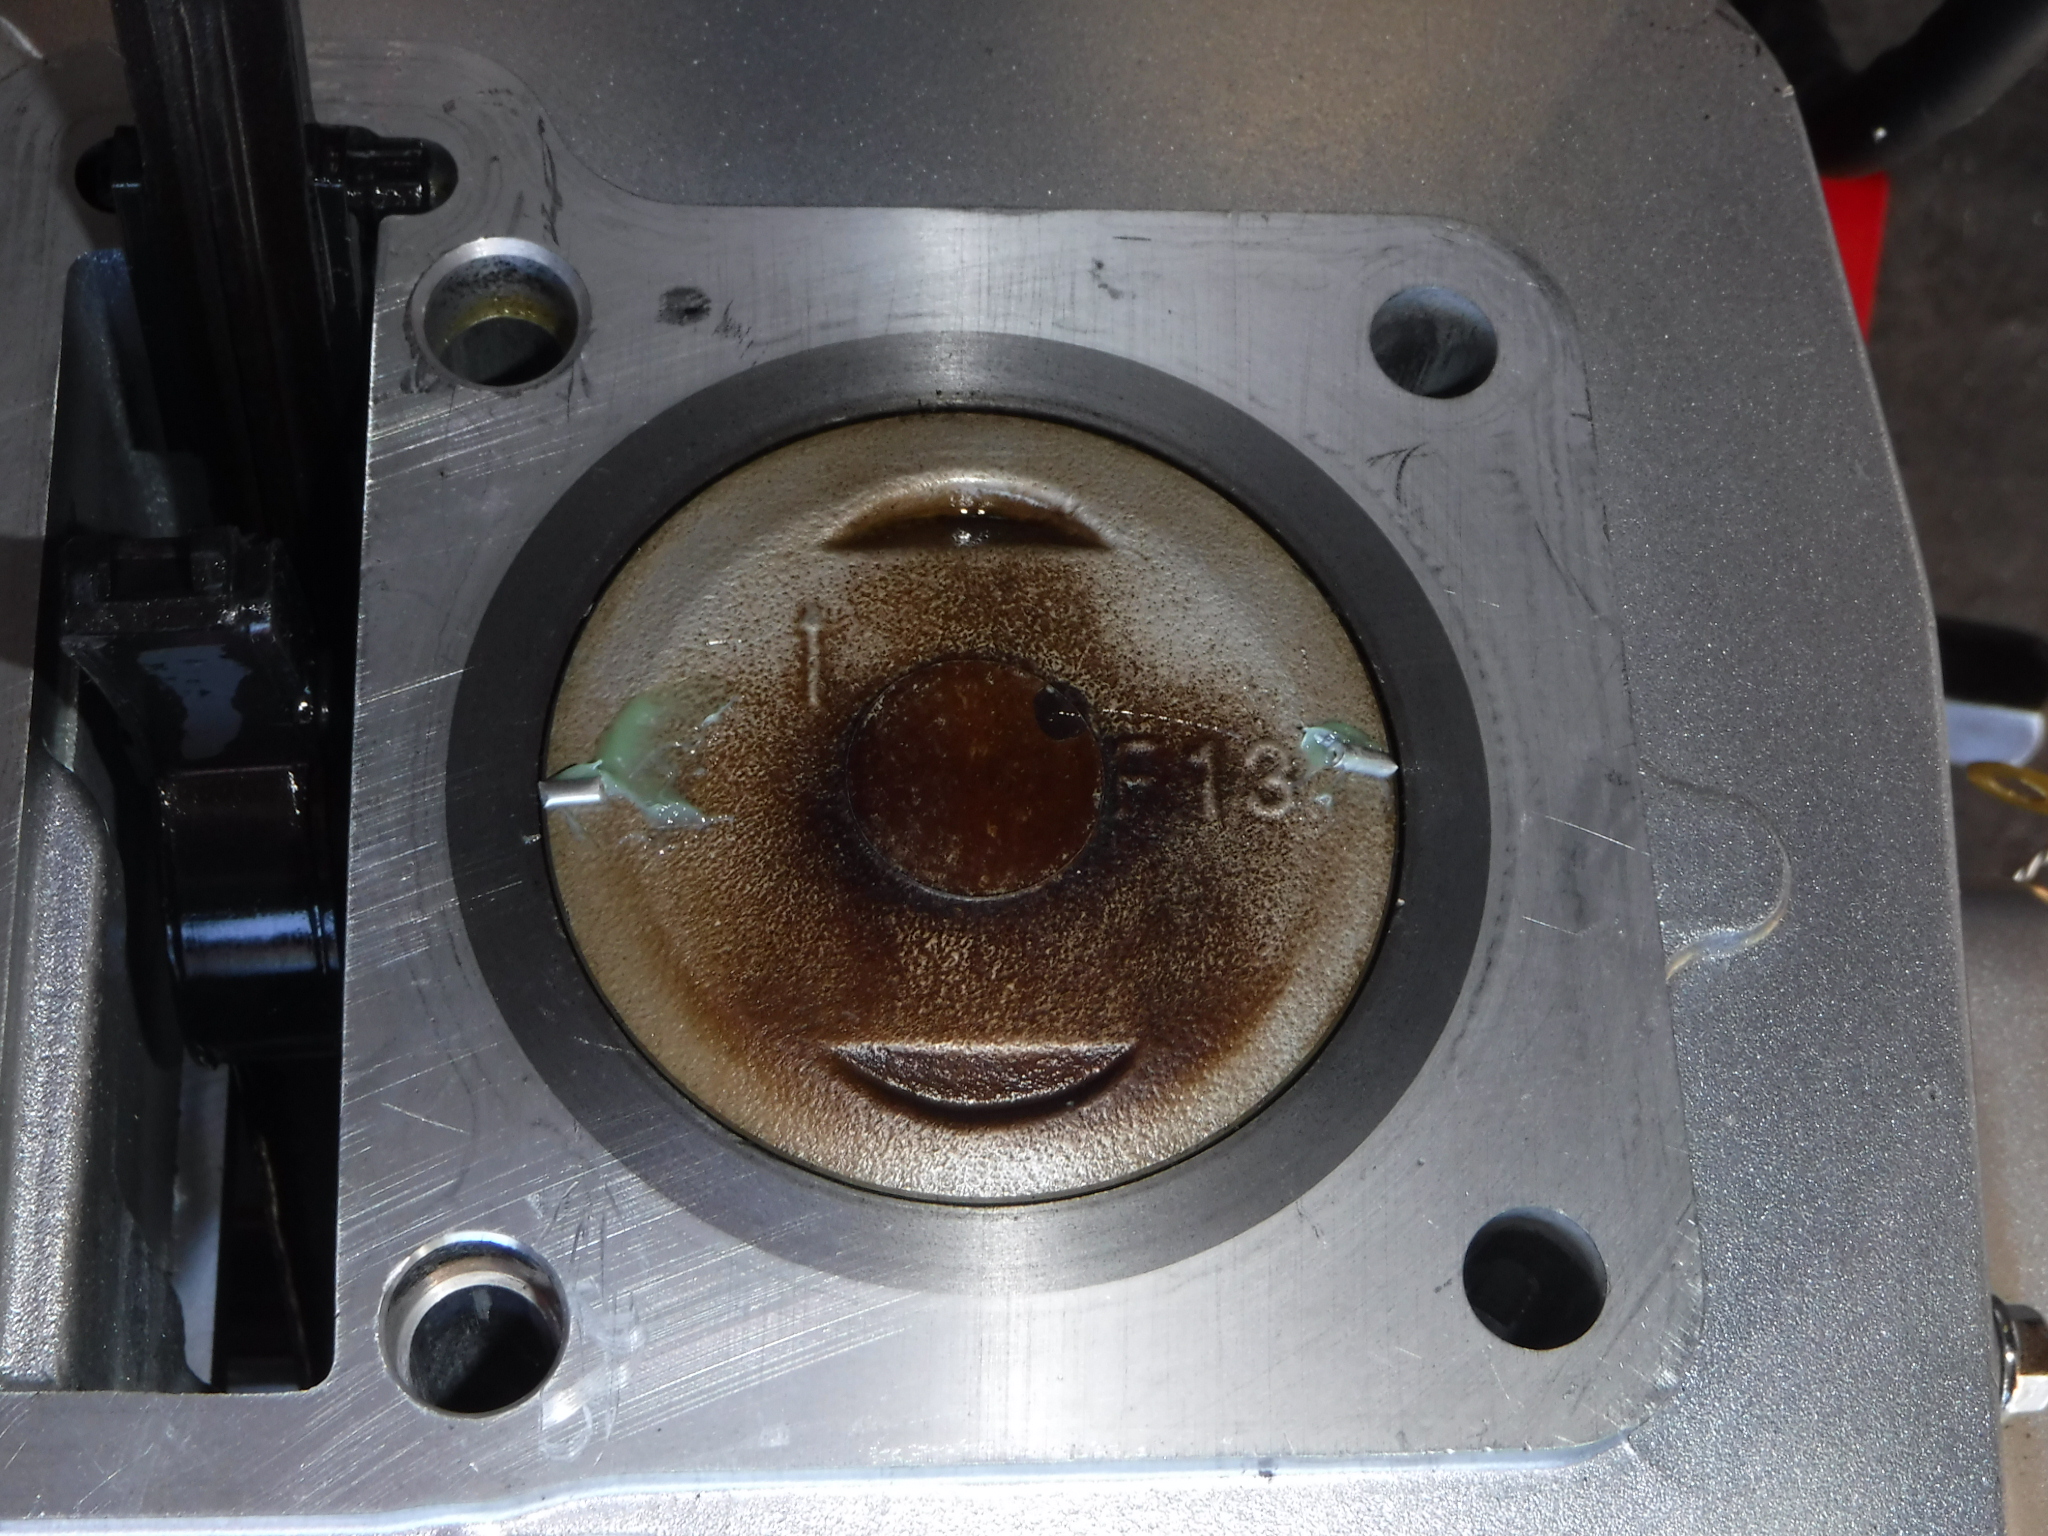
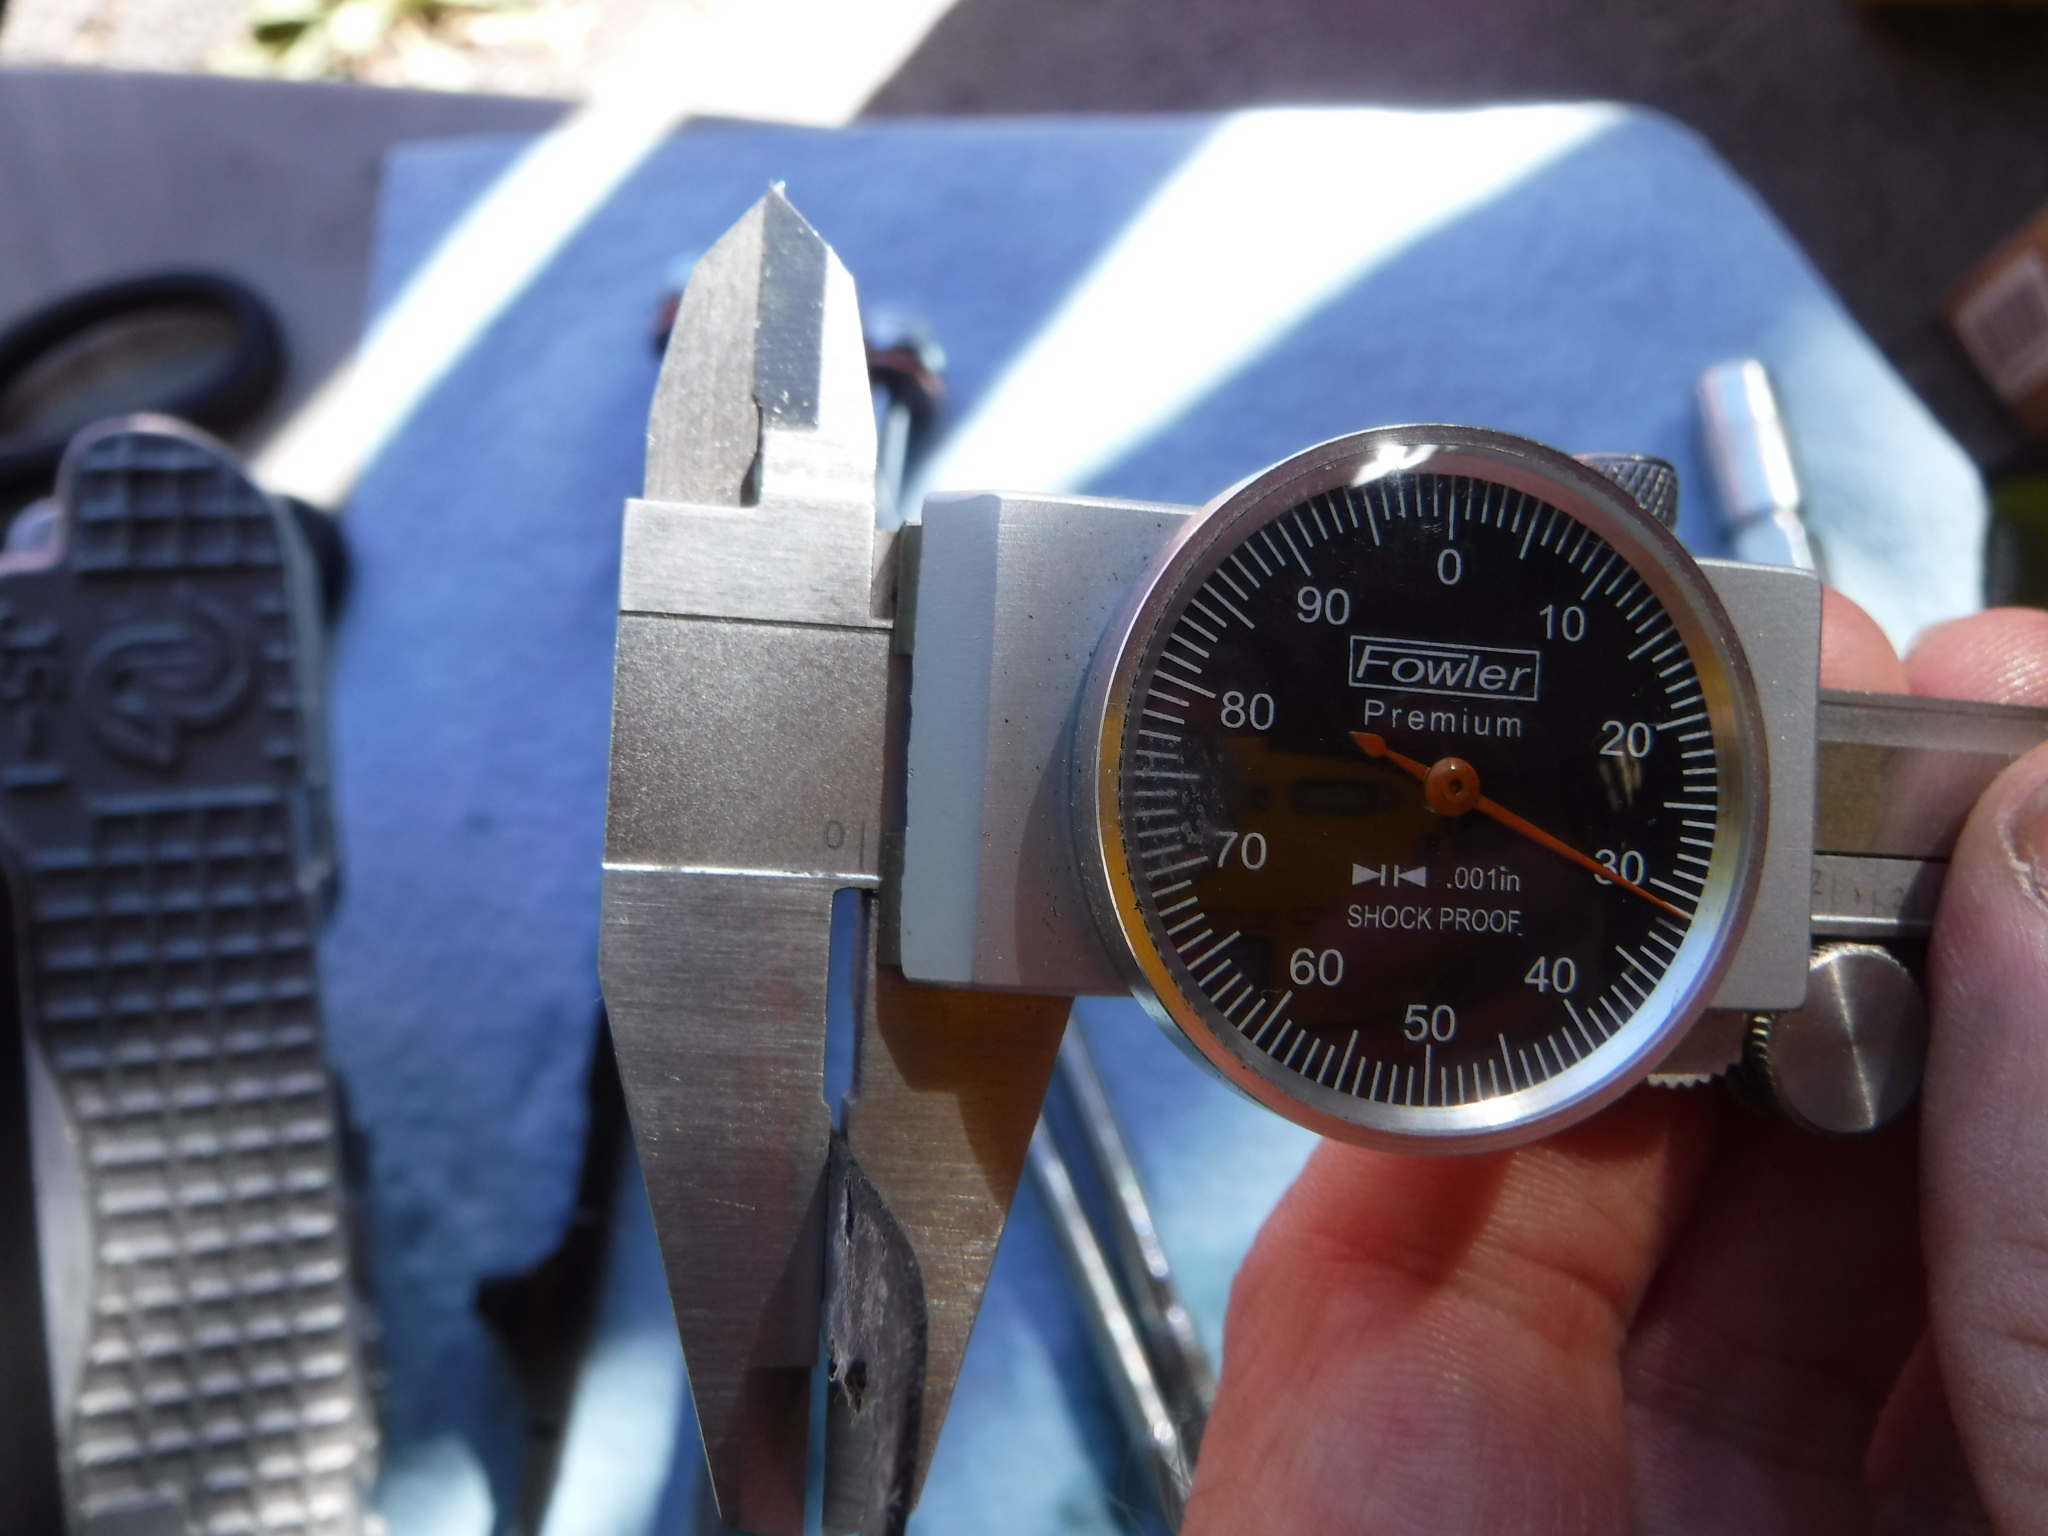
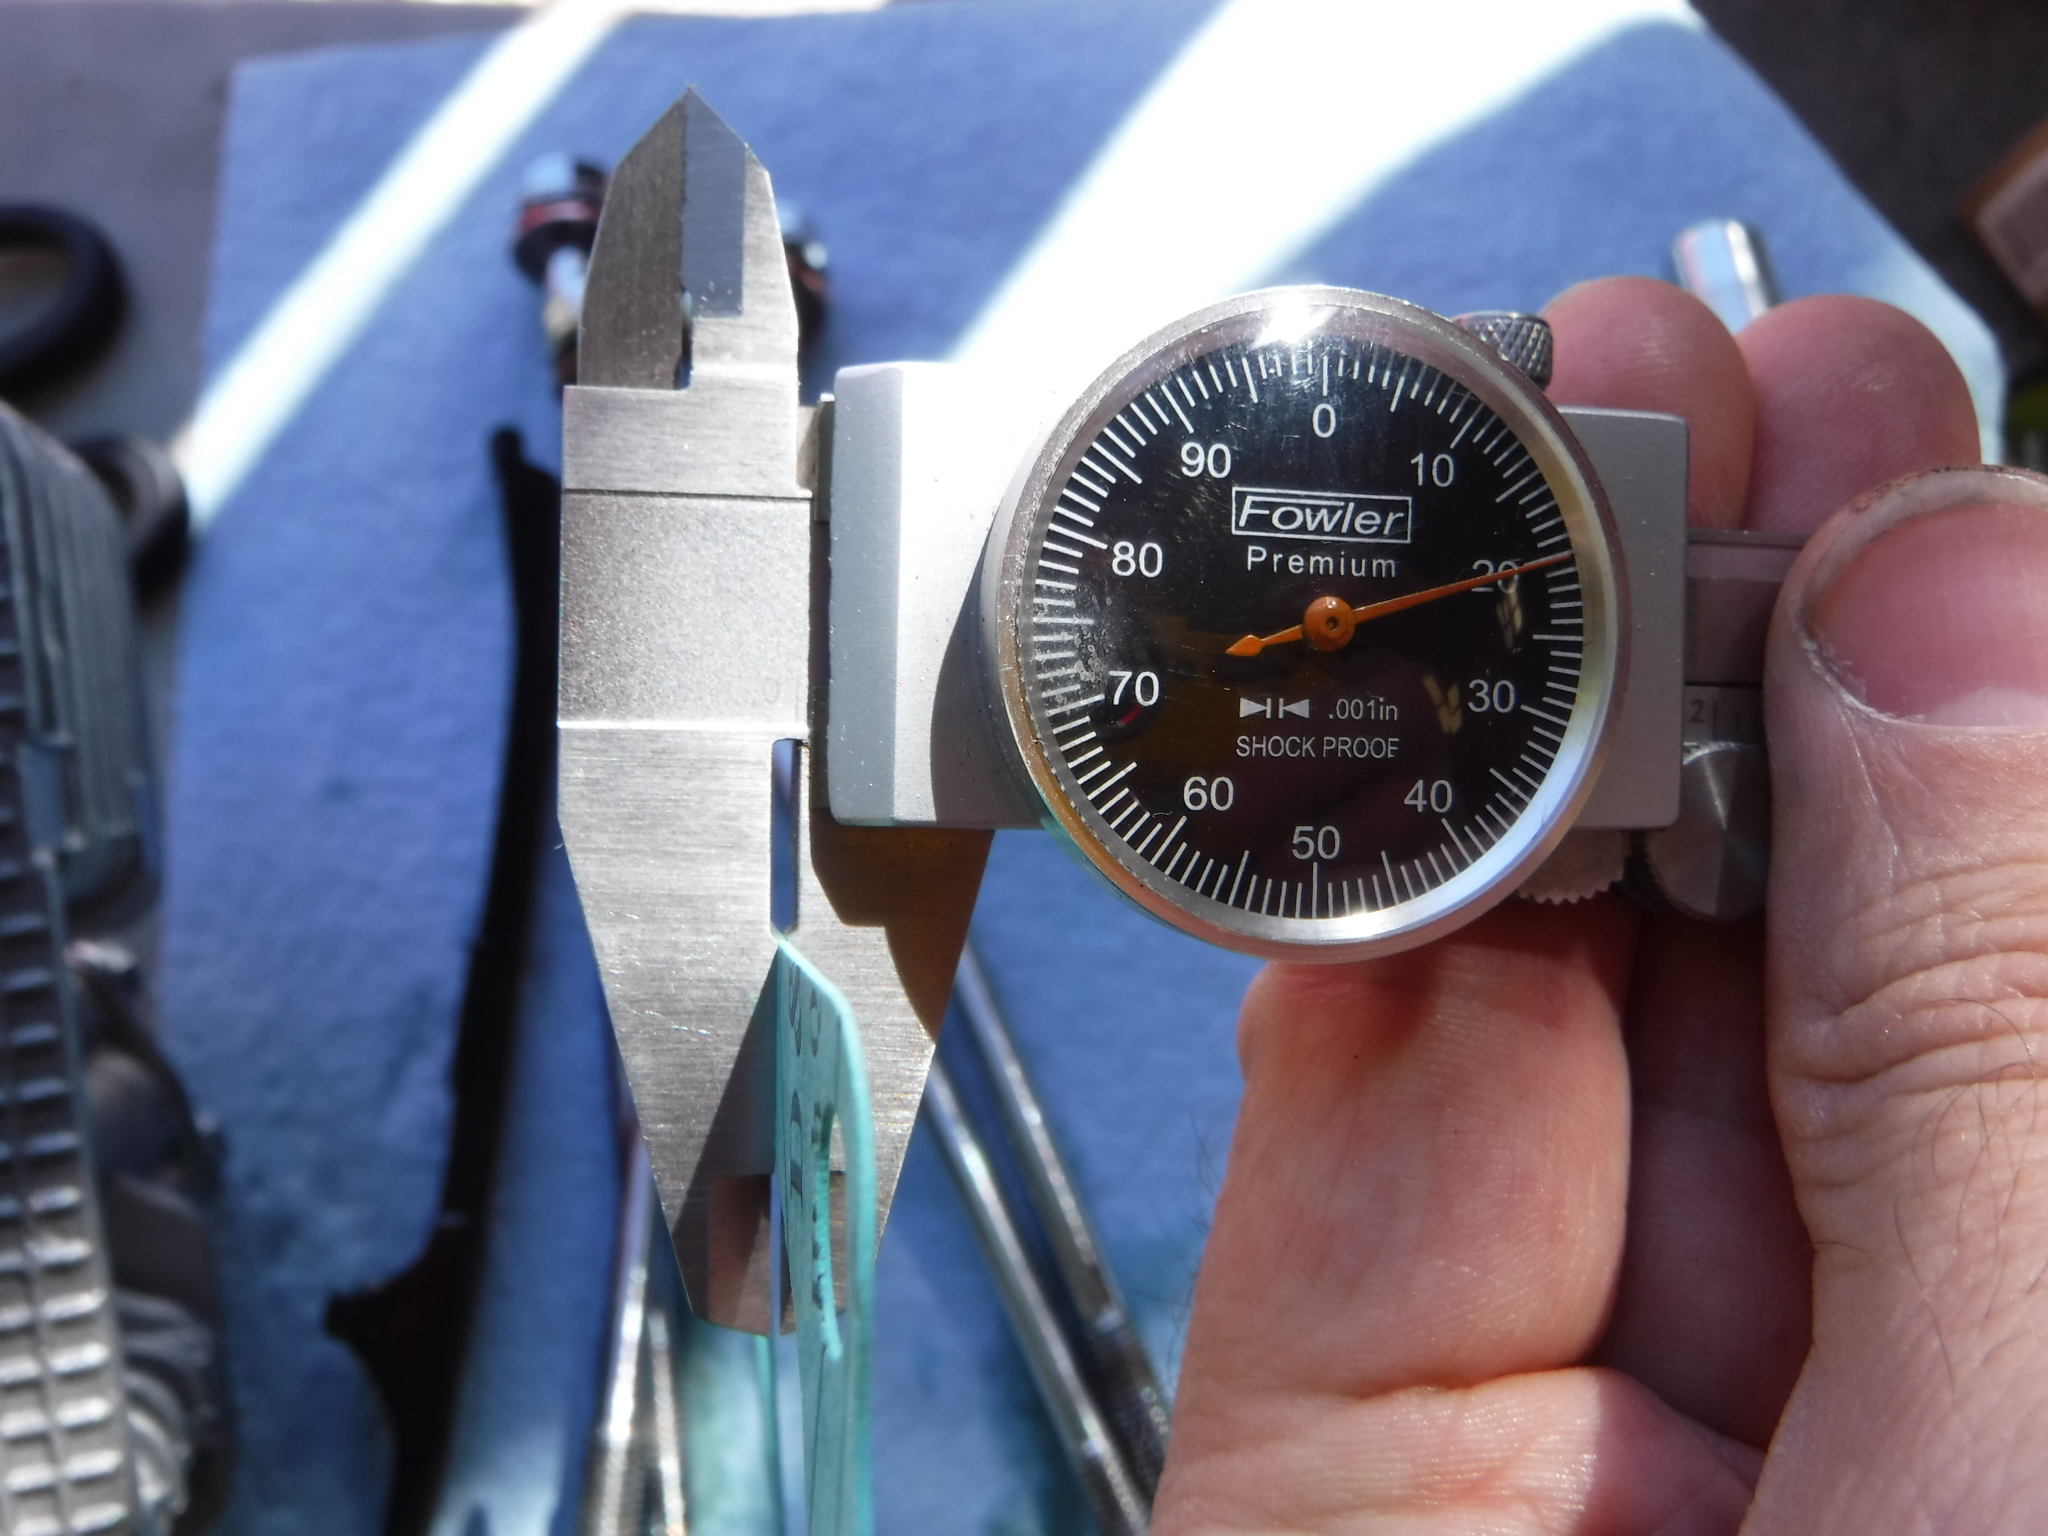
After torquing the head down on the old gasket, it's time to run the piston up past top dead center. Pop the head back off and measure.
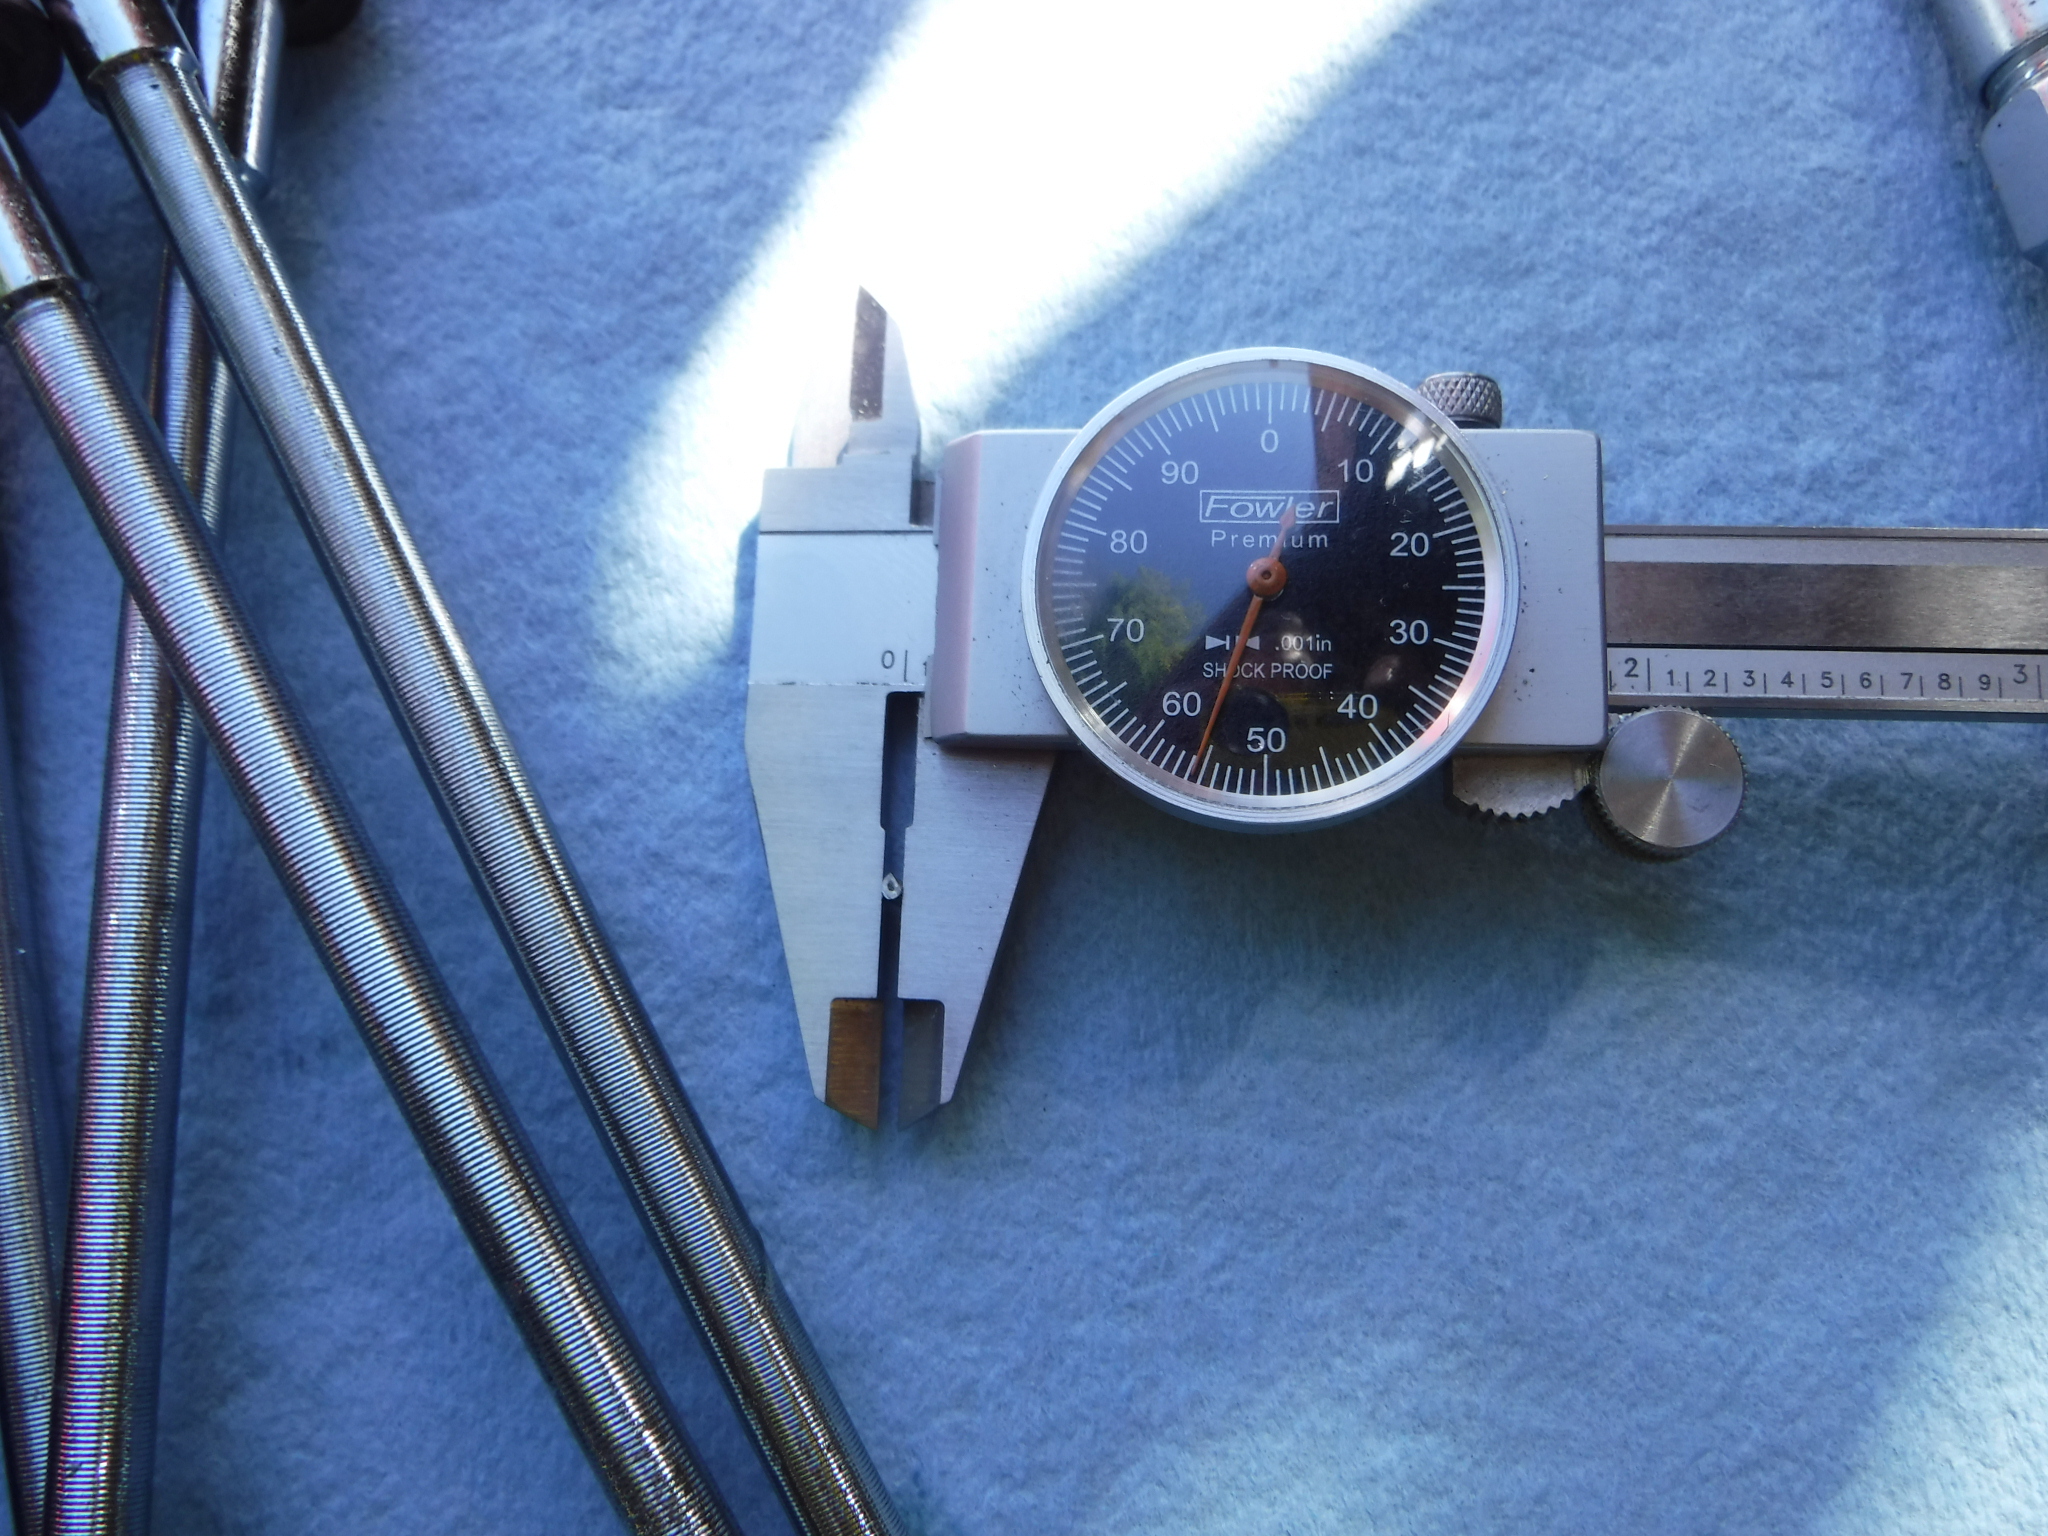
Value of 0.056 inch, recommended for a TTR125 is around 0.020 to 0.025 inch. There are only a few ways to decrease this space, use thinner gaskets, remove gaskets, or machine the surfaces. I chose to attack the cylinder base gasket because it is the least important in this system. The old gasket was around 0.030, the replacement gasket starts at 0.020.
Old gasket chunk
New gasket
There might be some savings there, but I chose a different way.

I chose to use the traditional method of remove the base gasket completely, a layer of Hylomar should make sure the oil stays on the inside. If I get leaking, then I'll need to look at some other way. Ran another set of solder chunks to see how far I got.
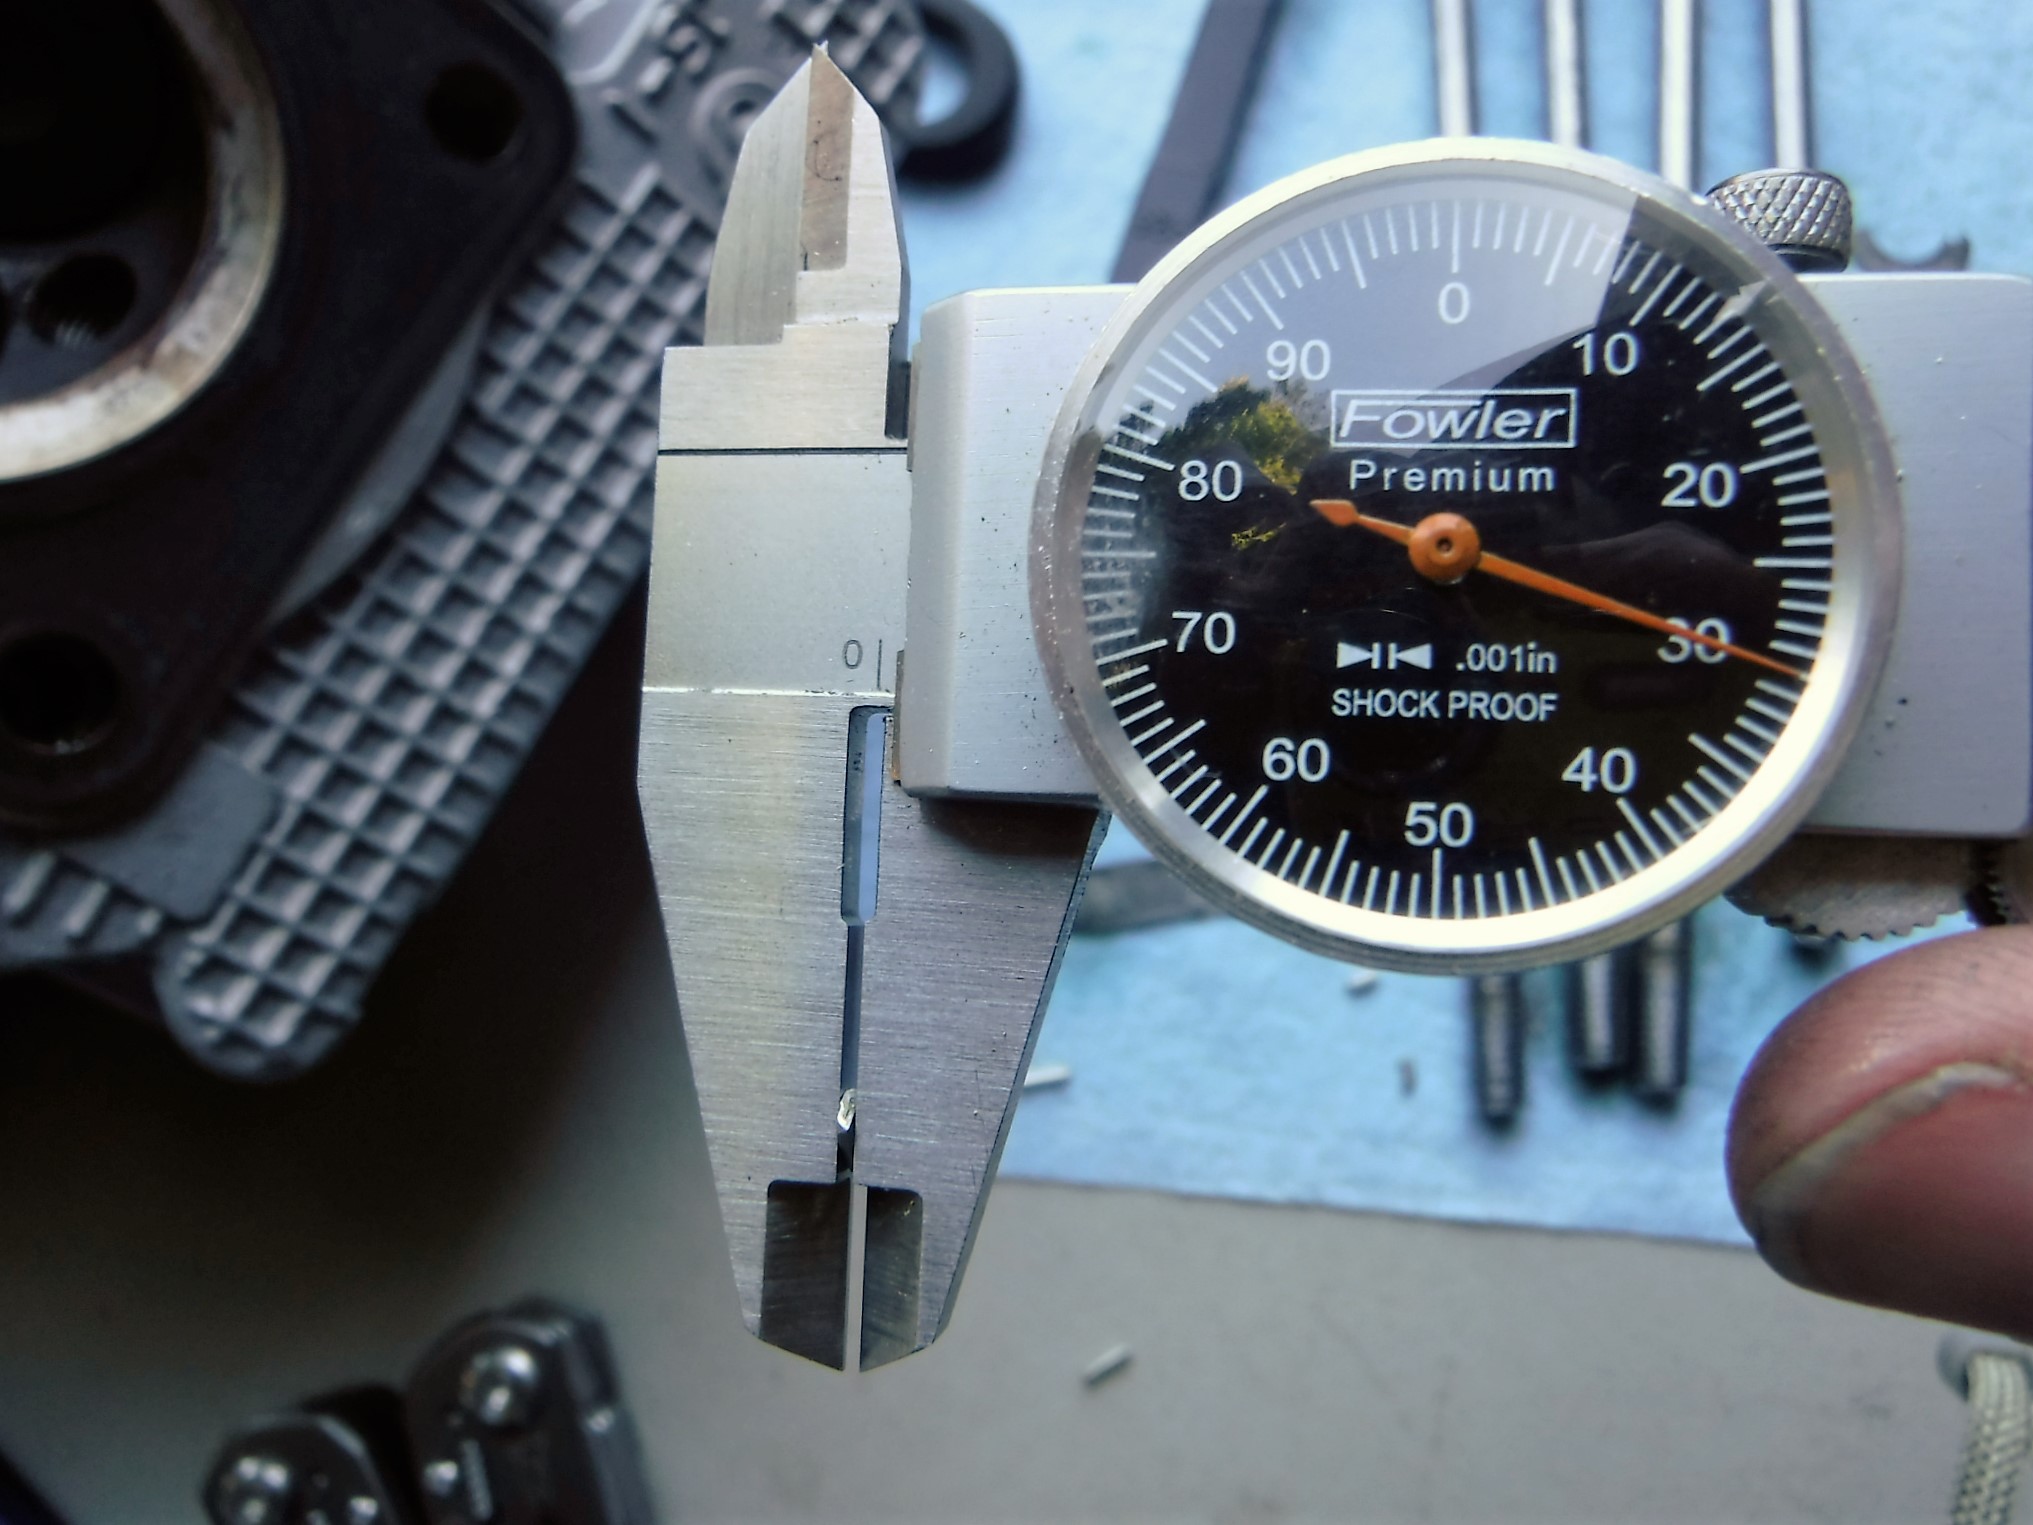
Down to 0.030 inch thick, not a bad improvement that should help this engine run. I thought about a different head gasket, but this gasket is already only 0.010 inch. Not sure a copper foil of 0.005 or thinner will work properly, but that would be the only way to get this space smaller without machining the head or cylinder. I may give sanding the head down a try, same process as resurfacing a slightly warped head by running it on a flat surface with 400 to 600 git wet/dry sandpaper (use this wet!). But for now the 0.030 is good enough.
But when you decrease this distance, there is always something you should do. Time the cam back in and check the valves to make sure they still clear. I used some modeling clay to do this and verify the squish clearance.
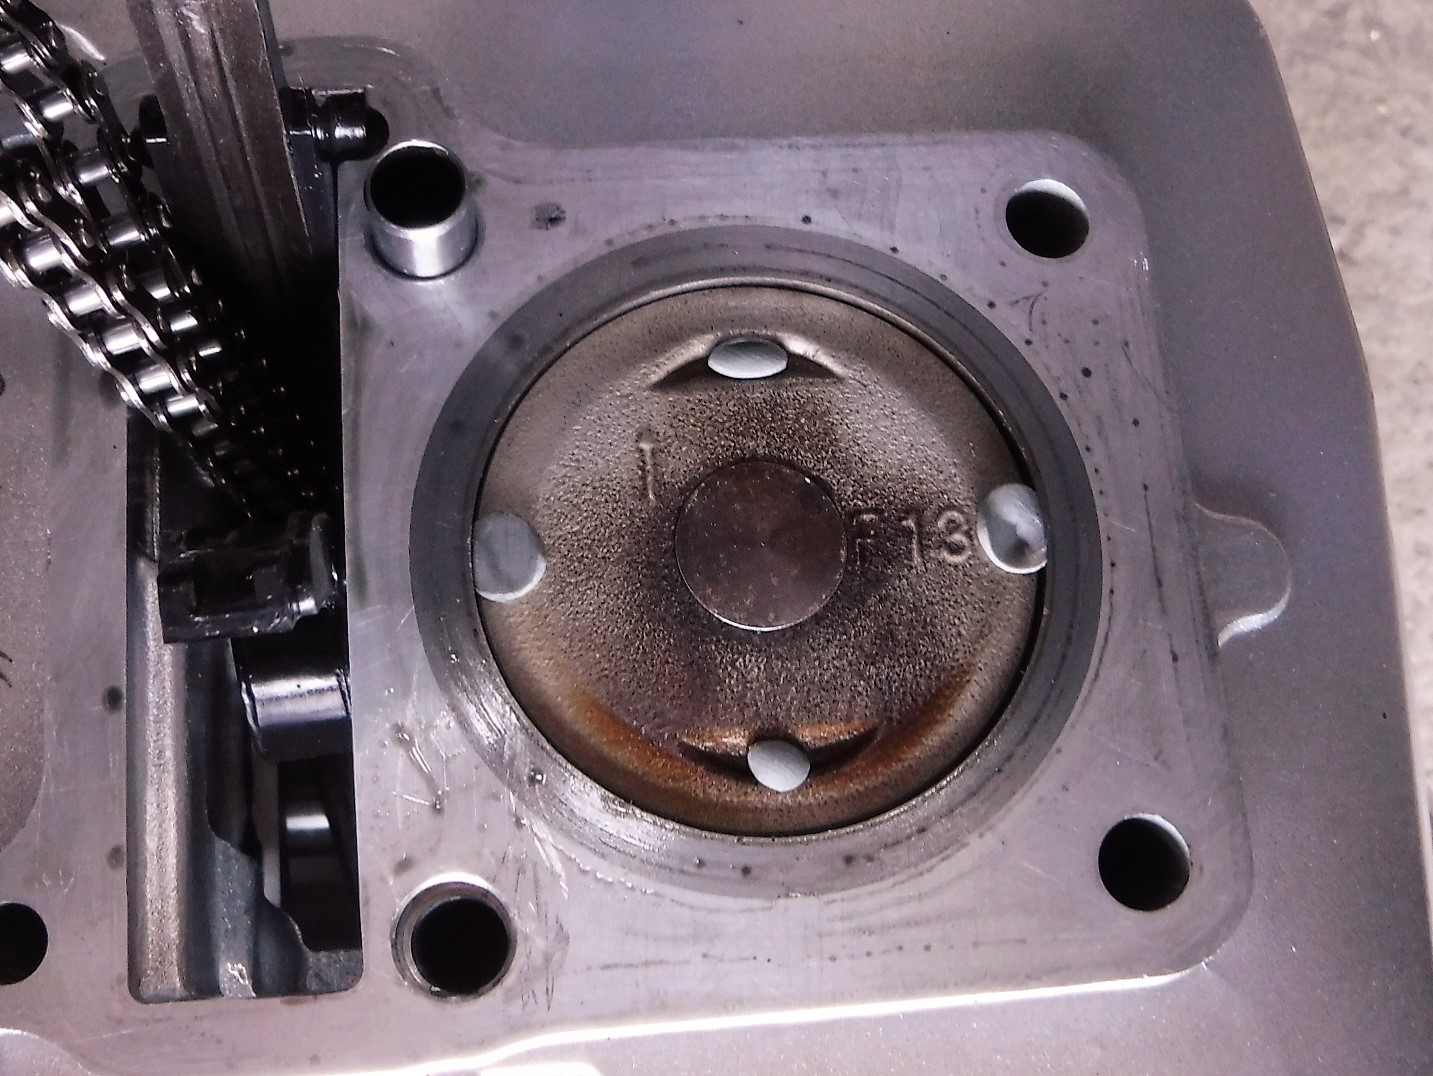
Notice that the intake valve never hit the clay, and that the exhaust valve barely hit the clay. Lots of clearance here for a different duration or different lift cam. If I didn't have other work I needed to do on the head, I would have been able to finish this up.